Table of Contents
- Ingredients and Equipment You’ll Need
- Best Essential Oils for Muscle Pain Relief
- Step-by-Step Instructions for Making Your Balm
- How to Infuse Oils for Salves and Maximize Potency
- Safety Precautions for Homemade Topicals
- Storage and Shelf Life for Your Homemade Pain Relief Balm
- When to Use Your Balm and What to Expect
Last Updated: August 26, 2026
Ingredients and Equipment You’ll Need
Making a homemade pain relief balm requires a double boiler (or heat-safe bowl over simmering water), glass measuring cups, a wooden spoon, and glass storage jars with lids. A kitchen scale helps with precise measurements, though measuring spoons work for simpler batches.
Core ingredients are straightforward: beeswax pellets form the solid base, carrier oils like coconut oil or shea butter provide the absorption medium, essential oils deliver therapeutic properties, and vitamin E oil acts as a natural preservative. Many people add botanical extracts like dried arnica flowers, comfrey root, or calendula to amplify effectiveness. If infusing your own oils, you’ll need dried herbs and additional carrier oil.
A thermometer helps monitor melting points but isn’t essential. Cheesecloth or fine mesh strainer becomes necessary if filtering botanical material from infused oils. Ensure all equipment is clean and dry before starting, as moisture affects final consistency.
Best Essential Oils for Muscle Pain Relief
The essential oils you choose determine whether your homemade pain relief balm actually delivers relief. Not all oils are equally effective for topical pain applications.
Menthol-rich oils like peppermint and spearmint create a cooling sensation that soothes muscle soreness and joint stiffness. The cooling effect works through sensory pathways, temporarily overriding pain signals. Warming oils like ginger, black pepper, and cinnamon generate gentle heat and may promote blood flow to affected areas.
Eucalyptus and rosemary essential oils are frequently included in pain relief formulations and have been traditionally used for centuries. Eucalyptus provides cooling properties while rosemary enhances other oils’ effects. Lavender, while not directly pain-relieving, calms stress and tension that amplify pain perception.
A practical approach is starting with two to three essential oils rather than complex blends. Peppermint plus ginger, or eucalyptus plus rosemary, creates effective combinations. Essential oil dilution matters enormously, too much causes skin irritation, too little provides minimal benefit.
Step-by-Step Instructions for Making Your Balm
Creating a homemade pain relief balm takes about 30 minutes from start to finish.
Step 1: Measure Your Base Ingredients
Start with 2 ounces of beeswax pellets and 4 ounces of carrier oil (coconut oil works excellently). These proportions create a firm balm with good spreadability. For softer texture, increase carrier oil to 5 ounces; for harder balm, use 2.5 ounces of beeswax.
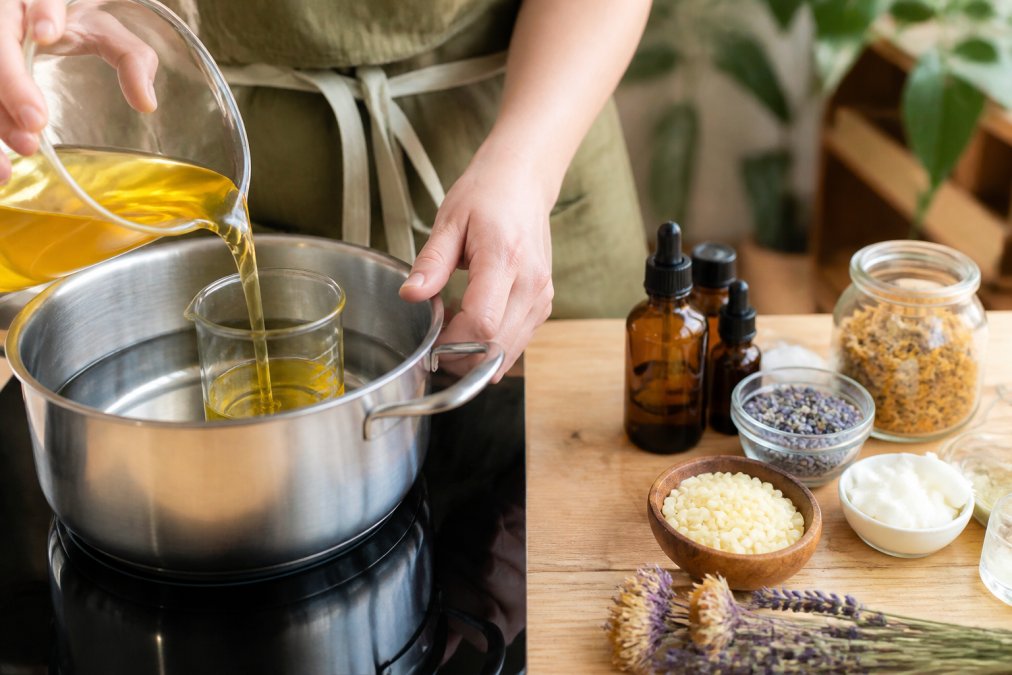
Step 2: Set Up Your Double Boiler
Fill a pot with a few inches of water and bring to a gentle simmer. Place a heat-safe glass bowl on top, sitting above the water without touching it. This indirect heat prevents overheating ingredients and damaging their therapeutic properties.
Step 3: Combine Beeswax and Carrier Oil
Add beeswax pellets to your glass bowl and let them melt slowly. Once melted, add your carrier oil and stir gently with a wooden spoon until uniform and smooth. This takes about 5-8 minutes.
Step 4: Add Essential Oils
Remove the bowl from heat and let it cool for 2-3 minutes. Add 20-30 drops of essential oils total and stir thoroughly to distribute evenly. Proper mixing ensures consistent potency throughout.
Step 5: Pour Into Containers
Working quickly before the mixture solidifies, pour into glass storage jars, leaving about a quarter-inch of space at the top. If it hardens before you finish, gently reheat the bowl.
Step 6: Allow Complete Cooling
Let jars sit at room temperature for at least 4 hours before using. The balm will firm up as it cools and be ready when it feels solid to the touch.
How to Infuse Oils for Salves and Maximize Potency
Creating infused oils elevates your homemade pain relief balm by extracting therapeutic compounds from botanical material into your carrier oil.
The cold infusion method is safest for home preparation. Fill a glass jar with dried herbs or flowers like arnica, comfrey, or calendula, cover completely with carrier oil, seal, and place in a cool, dark location for 2-4 weeks. Shake every few days to redistribute materials. After infusion, strain through cheesecloth into a clean jar. This infused oil becomes your carrier oil base.
The warm infusion method accelerates the process to 24-48 hours (peer-reviewed research). Place dried herbs in a heat-safe glass jar, cover with carrier oil, then place the sealed jar in a warm water bath (around 120°F) for several hours. Monitor temperature carefully to avoid damaging delicate compounds.
Potency depends on material quality and infusion duration. Dried herbs retain properties longer than fresh ones. Ensure botanical material is completely dry before infusing to prevent contamination. Store infused oils in dark glass bottles away from direct sunlight. natural lower back relief.
Many herbalists recommend combining multiple infused oils. An arnica-comfrey blend provides different therapeutic angles than either alone, while calendula adds skin-soothing properties.
Safety Precautions for Homemade Topicals
Making your own homemade pain relief balm puts you in control, but this responsibility includes understanding safety. Essential oils are concentrated plant compounds that demand proper handling.
Essential oil dilution is foundational. Never apply undiluted essential oils directly to skin. The dilution rate for topical balms is typically 2-3% essential oil concentration (peer-reviewed research). For a 6-ounce batch, that means 36-54 drops maximum.
Patch test before full application. Apply a small amount to an inconspicuous area and wait 24 hours for adverse reactions. Some people have sensitivities to specific essential oils or carrier oils.
Pregnancy and nursing require special considerations. Certain essential oils like peppermint, rosemary, and warming oils may affect hormone levels. Consult a healthcare provider before using homemade topicals during pregnancy or nursing.
Children require lower concentrations and specific oil selections. Reduce essential oil concentration to 1% or less for children under 12 and choose milder oils like lavender or chamomile.
Some essential oils interact with medications or health conditions. Warming oils that increase circulation may be problematic for people on blood thinners. Discuss homemade topical use with your healthcare provider if you have chronic health conditions or take regular medications.
Storage safety matters as much as preparation. Keep your homemade pain relief balm away from direct heat and sunlight in cool, dark conditions. Keep out of reach of children and pets.
Storage and Shelf Life for Your Homemade Pain Relief Balm
How long your homemade pain relief balm lasts depends on ingredients, preparation methods, and storage conditions.
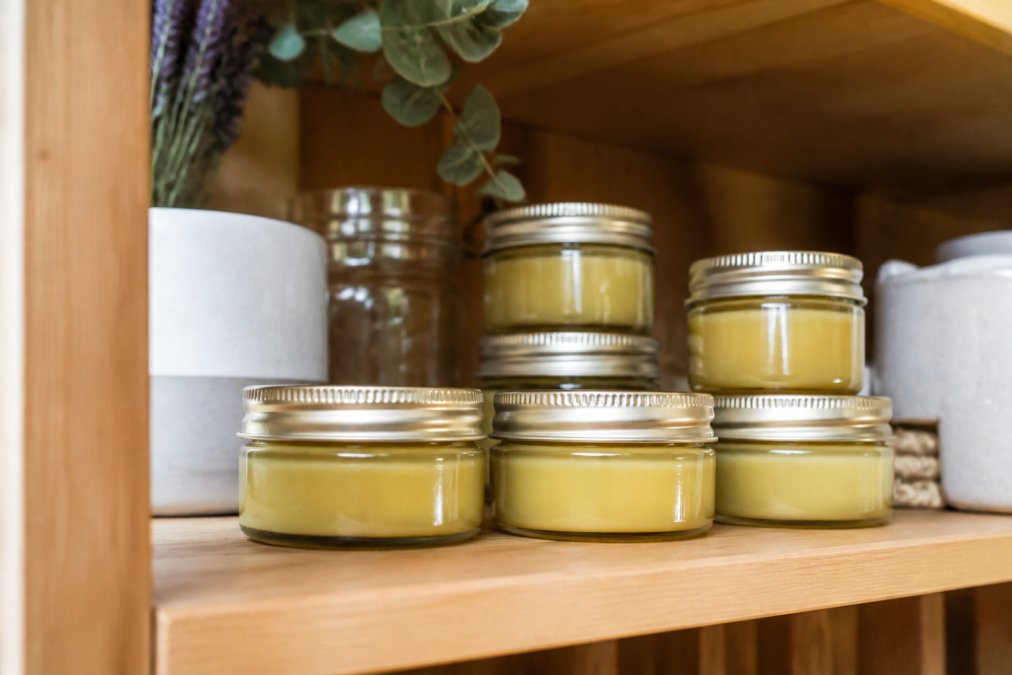
Glass containers with tight-fitting lids are essential. Glass doesn’t leach chemicals and provides a barrier against light and air. Avoid plastic containers, which can degrade over time.
Cool, dark storage locations extend shelf life significantly. A bedroom closet, pantry shelf away from sunlight, or basement works well. Room temperature storage is fine; you don’t need refrigeration unless your climate is extremely hot.
Beeswax-based balms typically last 6-12 months under proper storage (peer-reviewed research). Beeswax acts as a natural preservative, and vitamin E oil (added at 5-10% concentration) further extends shelf life by preventing rancidity. Infused oils have slightly shorter shelf lives of 6-8 months because botanical material adds moisture.
Signs of degradation include rancid smell, discoloration, or separation of ingredients. Label jars with preparation date to track age and help you remember what worked well.
When to Use Your Balm and What to Expect
Your homemade pain relief balm works best when applied strategically to affected areas.
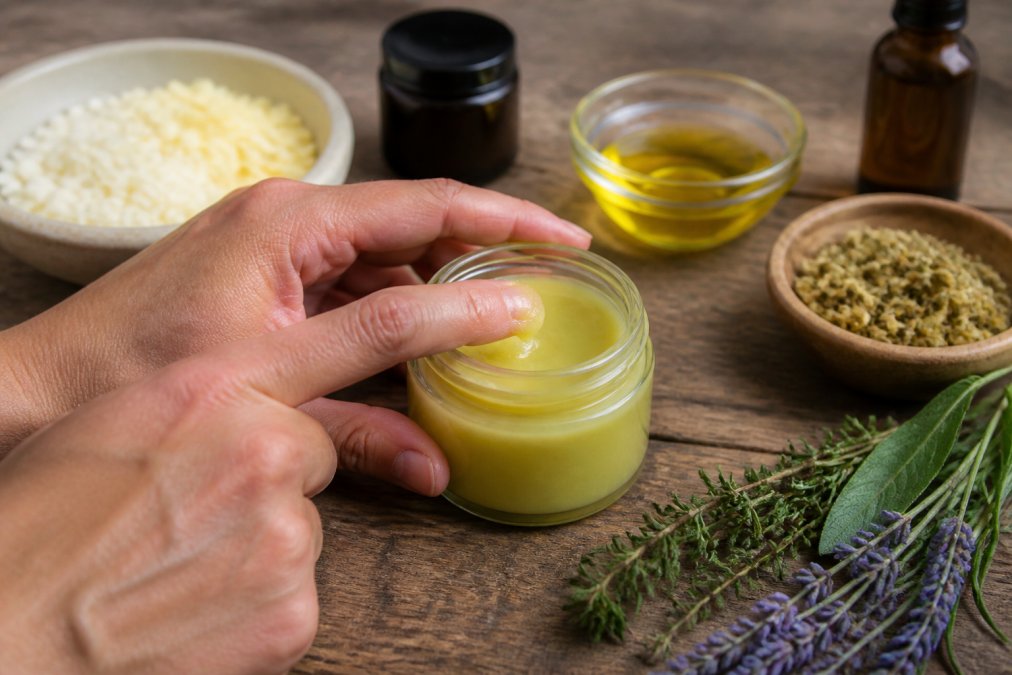
Apply directly to clean, dry skin and massage gently using circular motions. Friction from massage increases circulation and helps the balm penetrate deeper. A dime-sized portion covers an area the size of your hand.
For muscle soreness after activity, apply within the first few hours while inflammation is active. For chronic joint stiffness, consistent daily application often works better than occasional use. Experimentation reveals what works best for your body.
Most people notice initial effects within 10-30 minutes. Cooling oils create immediate sensations while warming oils take slightly longer. This sensory response indicates the balm is working on your nervous system’s pain perception. Deeper therapeutic effects develop over days and weeks of consistent use.
Your homemade pain relief balm is a topical support tool, not a pharmaceutical replacement. It works best alongside stretching, movement, rest, and professional care when needed. Individual variation is enormous and depends on pain source, sensitivity, and skin condition. Consider combining your balm with complementary practices like gentle stretching, massage therapy, or heat therapy for enhanced effects.
Making your own homemade pain relief balm gives you complete control over ingredients and quality. You know exactly what’s going into your preparation, with no mystery additives or questionable fillers. For those seeking natural approaches to discomfort and inflammation, CBD Health Collection offers topical freeze gels that combine professionally formulated ingredients with the same commitment to purity and potency you’d achieve through careful home preparation. Their products are derived from organically grown, USA-sourced hemp and independently third-party lab tested, providing the quality assurance that DIY preparations can’t guarantee. Whether you choose to make your own or explore professionally formulated options, the key is finding an approach that supports your body’s natural healing response.
Frequently Asked Questions
What are the most effective natural ingredients for pain relief balms?
The most effective ingredients combine carrier oils (coconut oil, shea butter), beeswax for consistency, and botanicals like arnica flowers, comfrey root, and calendula. Essential oils such as peppermint, eucalyptus, and wintergreen add therapeutic benefit. Menthol crystals provide cooling relief for muscle soreness and joint stiffness. Vitamin E oil acts as a preservative while supporting skin absorption. When combined properly, these ingredients work together to reduce inflammation and provide soothing properties for topical application.
Is it safe to use homemade balms on chronic joint pain and arthritis relief?
Homemade balms can be part of a natural remedy approach for joint discomfort, but safety depends on proper ingredient selection, correct essential oil dilution, and patch testing before full application. Some botanicals may interact with medications or cause sensitivity in certain individuals. Always perform a patch test on a small area first and consult a healthcare provider if you take medications or have existing skin conditions. Store your balm properly to prevent contamination, and discontinue use if irritation occurs.
How long does homemade pain relief balm last, and how should I store it?
Properly made and stored homemade balm typically lasts 6-12 months. Store in glass storage jars in a cool, dark place away from direct sunlight and heat. Vitamin E oil and proper sealing extend shelf life by preventing oxidation. Keep containers tightly closed between uses. If you notice changes in color, texture, or odor, or if any mold appears, discard the batch. Refrigeration can extend shelf life further if your climate is warm or humid.
What's the difference between a salve, a balm, and a cream for pain relief?
A salve is typically oil-based with minimal beeswax, creating a softer consistency ideal for quick absorption. A balm contains more beeswax for firmer texture and longer-lasting topical application on specific areas. A cream uses water or emulsification to create a lighter texture that absorbs faster into skin. For muscle soreness and joint stiffness, balms and salves provide better therapeutic-grade coverage and longer contact time, while creams suit sensitive skin or broader application areas.
This article was written using GrandRanker